Cloudripper

Place Name: Inyo County
Place Description: State: California
Date: 09/25/2022
Elevation: 13,525 Feet
Prominence: 845 Feet
Miles: 13.4
Elevation Gain: 5,108 Feet
Lists: Sierra Peaks Section, Sierra Sampler
-
Difficulty
-
Solitude
-
Kid Friendly
-
Summit Views
Awesome Name, Awesome Peak
If you are going name a peak Cloudripper, it better be an awesome peak! There is no shortage of awesomeness on this mountain or the entire hike for that matter
Overall
3.5Pros
- Top flight views
- Fun summit block
- Arguably the best hike in the Sierras
Cons
- Exposed to elements
- Boulder hopping
- Long and tedious approach
As far names go, is there a better named peak than Cloudripper? Personally, I think it’s an awesome name!
Even better, it’s an awesome peak to climb! One of California’s fabled 13ers will not disappoint and can combined easily with fellow 13er Vagabond Peak!
Getting There
Bishop, CA is your jumping off point for Cloudripper. Take Highway 168 to the west and follow the signs to Aspendell and South Lake. You will turn left following the road to the trailhead at South Lake.
This pretty drive follows Bishop Creek and passes a couple resorts before terminating in a large parking area near the South Lake dam.
There are two major trail heads here, Bishop Pass and Green Lake. To get to Cloudripper, you will follow the trail towards Green Lake.
The Trail
Setting off from the parking lot, follow the well-maintained trail. Early into the hike, you can bounce off the trail and take the pipeline shortcut. This old water pipe will save elevation and mileage as you walk on the actual pipe most of the way.

Hiking down the pipeline shortcut
Once you come off the pipe, you will be higher up on the trail and working your way uphill towards Brown Lake.
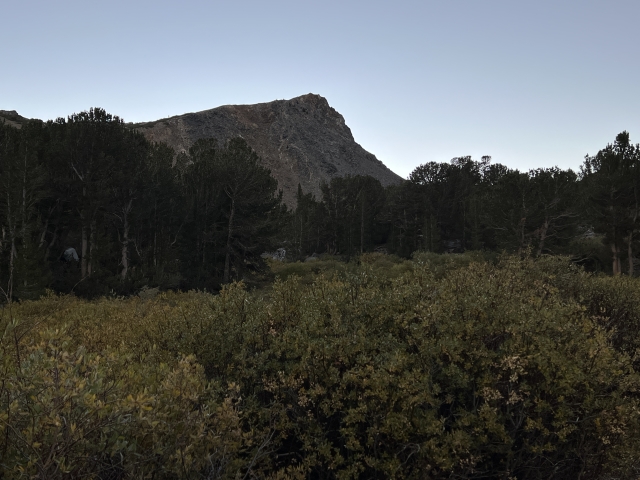
While not the most scenic lake in the area, Brown Lake sits in a nice basin.

Brown Lake
Follow the trail through some swampy areas and over some boulders before dropping into the basin the holds the much more scenic Green Lake.

Green Lake
From here, the trail climbs steadily to the high plateau above Green Lake. Use the steeply graded switchbacks and pop out on the high plateau with the approach to Vagabond Peak off to your right.

On the plateau above Green Lake with Vagabond Peak in the distance.
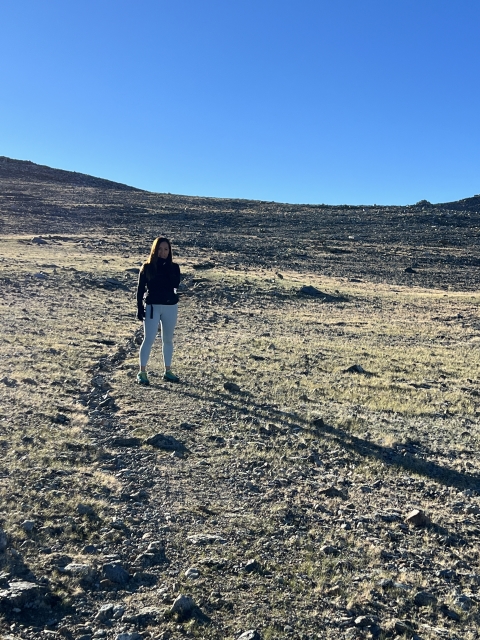
Continue down the trail past a signpost and find the easiest looking spot to break off trail to the right and start climbing up a little bluff. The terrain here is a bit more Sandy but not too difficult.

Breaking off trail here to head towards Vagabond Peak.
Once you crest this bluff, Vagabond Peak towers in front of you to the left and the large boulders that make up the approach.
Approaching Vagabond Peak is not difficult at all, easy class 2 climbing.

Climbing Vagabond Peak
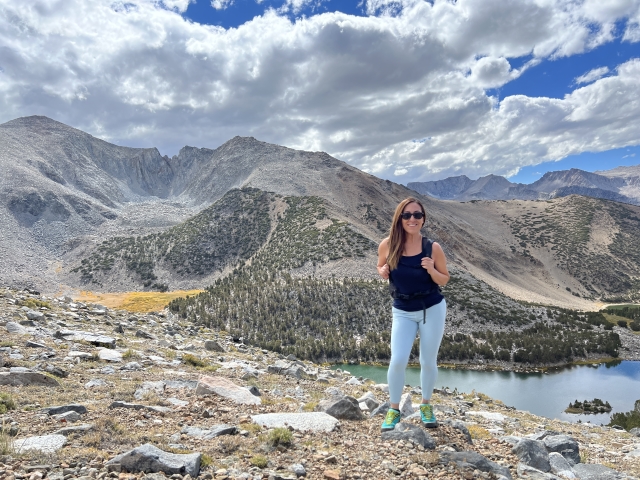
Vagabond Peak
Vagabond Peak is another big peak at 13,374 feet. While it holds no spots on any lists, it isn’t even a detour to tag it on the way to Cloudripper. The route goes right up and over the summit.
Follow the boulders to the summit and make an easy class 2+ move to gain the high point. The register is located in a hole on the side of the summit block.

Vagabond Peak summit register
Enjoy the views over to Cloudripper and down to Thunder & Lightning Lake.

Cloudripper across the saddle from Vagabond Peak

Thunder & Lightning Lake from Vagabond Peak
Route To Cloudripper
Drop straight off the backside of Vagabond. The boulders are larger on this side; however, they are still easy to negotiate. Within minutes, find yourself in the mostly flat saddle area between Vagabond and Cloudripper.

Saddle between Vagabond Peak and Cloudripper.
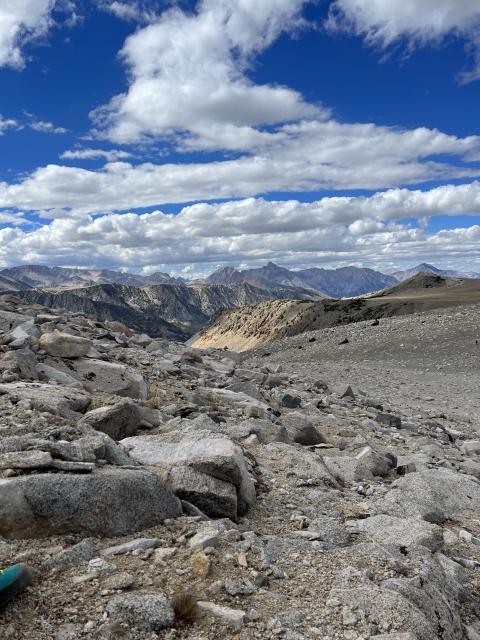
From here, walk across the saddle and climb the pile that make up Couldripper. Easy Boulder hopping will greet you as you climb to the summit ridge and lay your eyes on the summit block.

Cloudripper summit block.
The Summit
The final ridge to Cloudripper has been described as a Class 3 route with exposure. Fortunately, the exposure was very minimal and never extreme. I would call it class 2+ since it requires hands and some moves, but nothing sustained.

Cloudripper summit, class 2.5
Once you see the summit block, it’s easiest to drop off the left side a bit and follow up the natural path to the summit. The chute is pretty easy to see.

Coming down Cloudripper summit
Cloudripper’s summit has some amazing views. Honestly, these could be the best views in the Sierra.
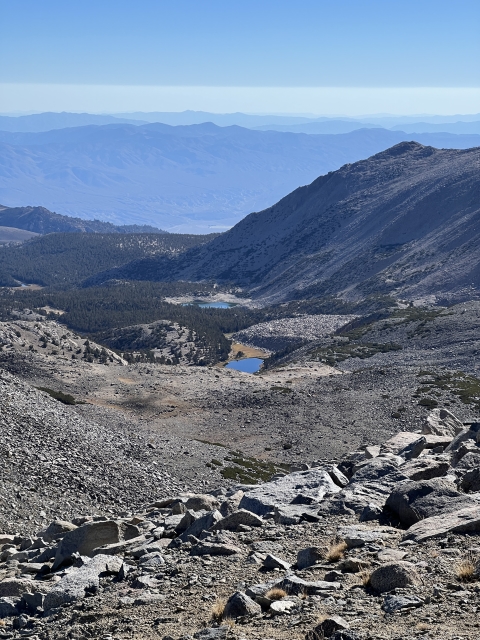
To the south you have then Palisades, Mount Sill and the Big Pine Lakes.

Big Pine Lakes
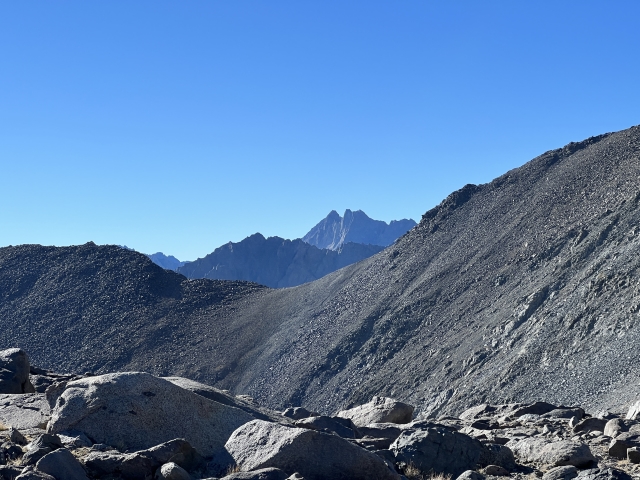
The impressive summit of Mount Agassiz lies out to the west,

Mount Agassiz from Cloudripper
To the North is the Chocolate Lakes Basin and the 11,000+ summit of Chocolate Peak looking like an ant hill below. Mount Humphreys and Mount Tom also look impressive!

Looking down on Chocolate Peak
Looking east are Glass Mountain and White Mountain Peak. Waucoba Mountain and the Inyos are also in view.
On the descent, you have to re-climb Vagabond Peak. This can be done by staying left of the summit and going over the lower shoulder. From there, just follow the path of least resistance all the way back to the trail.

Vagabond Peak from Cloudripper
The Final Word
Bagging two 13ers in a day is always a day we’ll spent. Even more so when you can keep it all class 2 and have a trail for most of it.
I highly recommend this hike and these two summits. They are a great introductory course into high Sierra off trail hiking.
Be ready for a long day and your mind to be blown. This is an awesome hike!